
It was a fun shopping trip this morning. A trip to the bulk store for chocolate is next, and then the epic baking shall commence.


 This is the post where half of you decide I've lost my mind. Just to warn you.
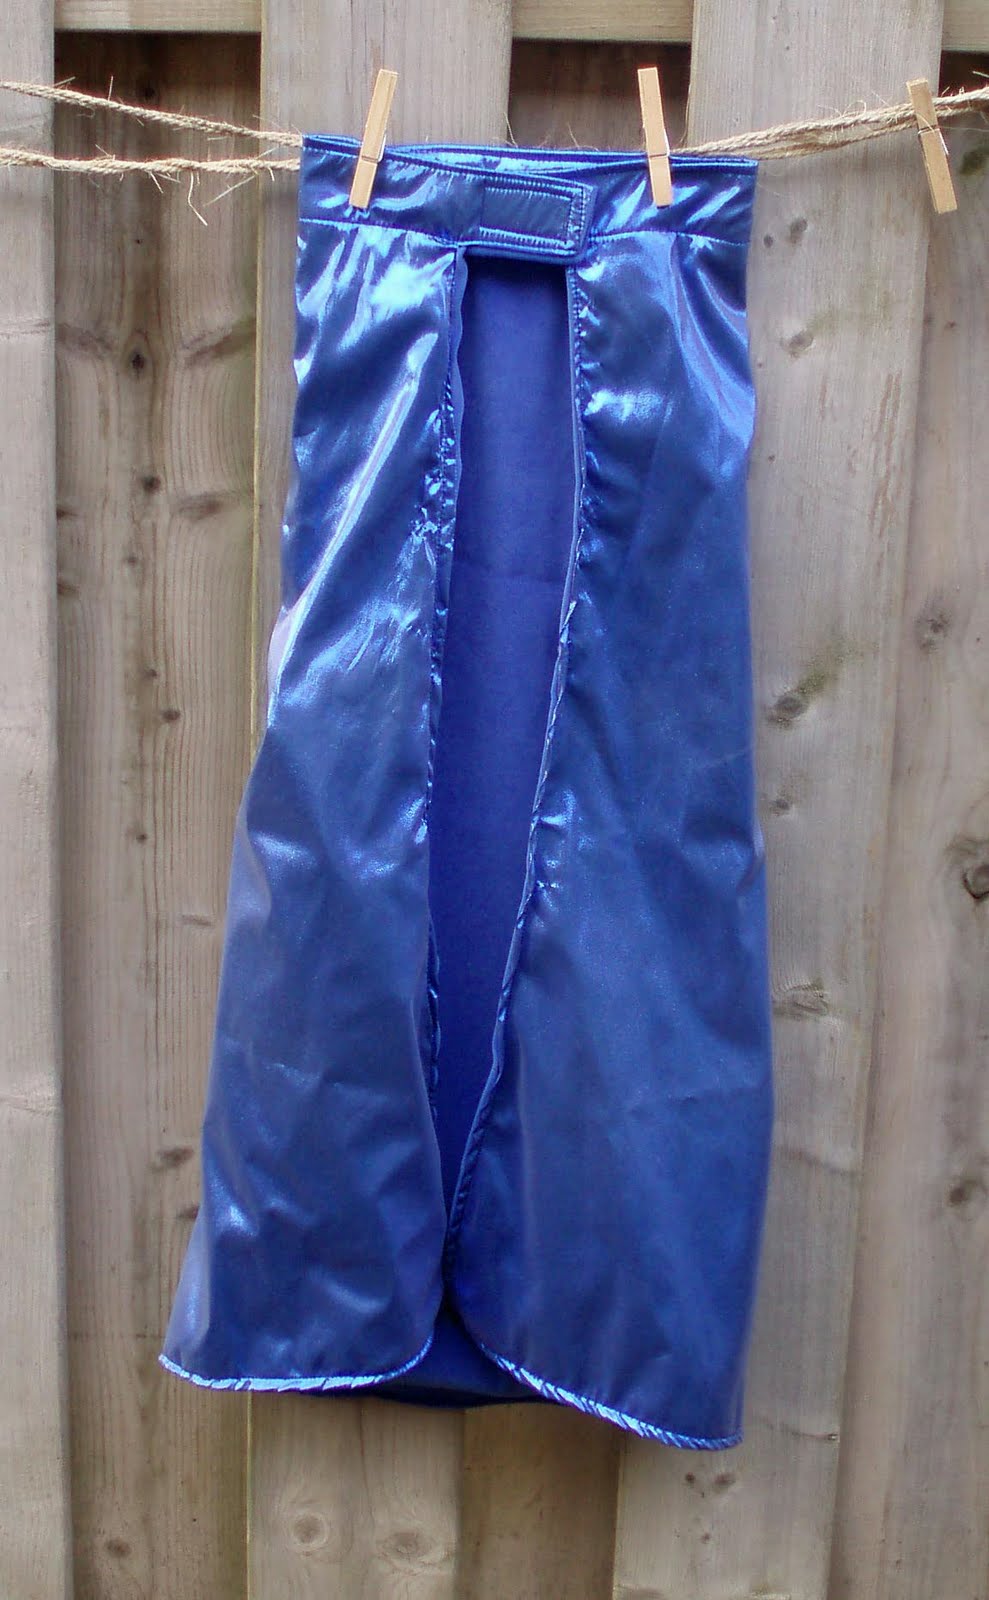
 Because I like the high tech stuff, these are about as high tech as you can get, at least when talking menstruation. PUL for the outer, totally waterproof, so your clothes don't get wet or stained. Fleece on the wings for softness, and they fasten with a snap (two settings to adjust the fit). The absorbant bit is made of 2 layers of flannel with a layer of Zorb in between. Zorb is probably about the most absorbent material you can get, it's amazing stuff. Topped with an athletic wicking fabric so that moisture passes through and is moved away from the skin. And the wicking fabric is also surprisingly stain resistant.
 So while I know these aren't going to be everyone's cup of tea, I like them, and they are a great way to use up some of the excess fabric I have lying around. Look for sets in the store soon.
 Progress on the house exterior! Windows are framed and painted purple, and I've painted some grass along the bottom. I'll be adding in some flowers as well. Also, note the hook and eye set ($1) to keep the doors closed when not in use. Paints are from my craft supplies.


 Requisite arty shot for Etsy listing, because to fit in on Etsy, you gotta do the pointless artsy shot. Goofy yet true.

 Inside! Pencil crayons and a notebook. I think this is such a great idea, and after i work out a few more details I'm definitely going to make a bunch of these. I need to make the whole thing about an inch taller, and the pockets need to be a bit snugger because right now a couple of the pencil crayons really want to slip right out. Both of those are easy problems to solve, however.
 Close up. I think these would actually be really nice with a plain black outer and the crazy rainbow inner. And what a great thing to have tucked away in your purse for child entertainment emergencies! the number of pencil crayons can easily be increased, too, although more colours makes matching up the background fabric a bit of a pain. I shall have to experiment a bit more with that. And this could also be made with crayons or markers, too, although that will require working out the specific sizing for each one.


 How it looks right now! The interior is almost done - the trim in the green room needs one coat of paint, but that's the last thing, other than the curtains, which I'm still figuring out.


 I gave the pan a quick spray with some spray oil, then my helper got to work piling in the crayons. We decided for the first batch to go with blue/purple, red/pink, and yellow/orange. Fill up the molds, then stick in a warm oven (I used 300 degrees) for about 10 minutes.

 We probably shouldn't have put quite so many crayon pieces in the second time! Here you can see why perhaps you shouldn't fill them up completely. Or at least keep the tray completely flat as you take it out of the oven.
 Having achieved such great results with the first three, who could resist making more?
 So fun! We have now exhausted our crayon supply. Whenever we make these again, I think I will chop up some of the crayons into very small pieces, and put those pieces in the bottom of the molds. Especially for the blue, where it would have been nice if I'd made sure more of the light blue and lavender crayon pieces wound up visible in the finished product.
 This is a super easy activity to do with your kids! Highly recommended.
 I'm probably going to keep this set, but now I have all kinds of ideas for coaster/placemat coordinated sets (the etsy seller I linked above also has these fabulous coordinated placemats that are also inspiring me). I have a couple of people on my Christmas list who will now be getting coaster and placemat sets! I'm thinking the leftover fabric from the Laurie bag could be worked into a really gorgeous set...

 The blue room has had two coats of dollar store white acrylic applied to the trim, and I think that's plenty. ($1 spent on paint; the small paintbrushes I'm using for trim work I have a ton of already). Which means there's actually only one more thing to do here - install the 'curtain rod' and make the curtains. I'll cover that in a separate post.
 I've started putting in the trim in the yellow room. I'm hoping tonight to get all the remaining trim glued down in all three remaining rooms so that tomorrow I can apply the wood filler to the cracks and then get it painted. The window frames in the yellow and green rooms are both fully painted, so I can get the curtain rods installed there too; the red room window frame needs at least one coat to cover the wood filler. If I can find some craft varnish for a reasonable price I would like to make the trim semi-gloss, just because I think that would look nice, but I may not get to that.
 Shot of the green room, with the window framed.

 Close up.


